
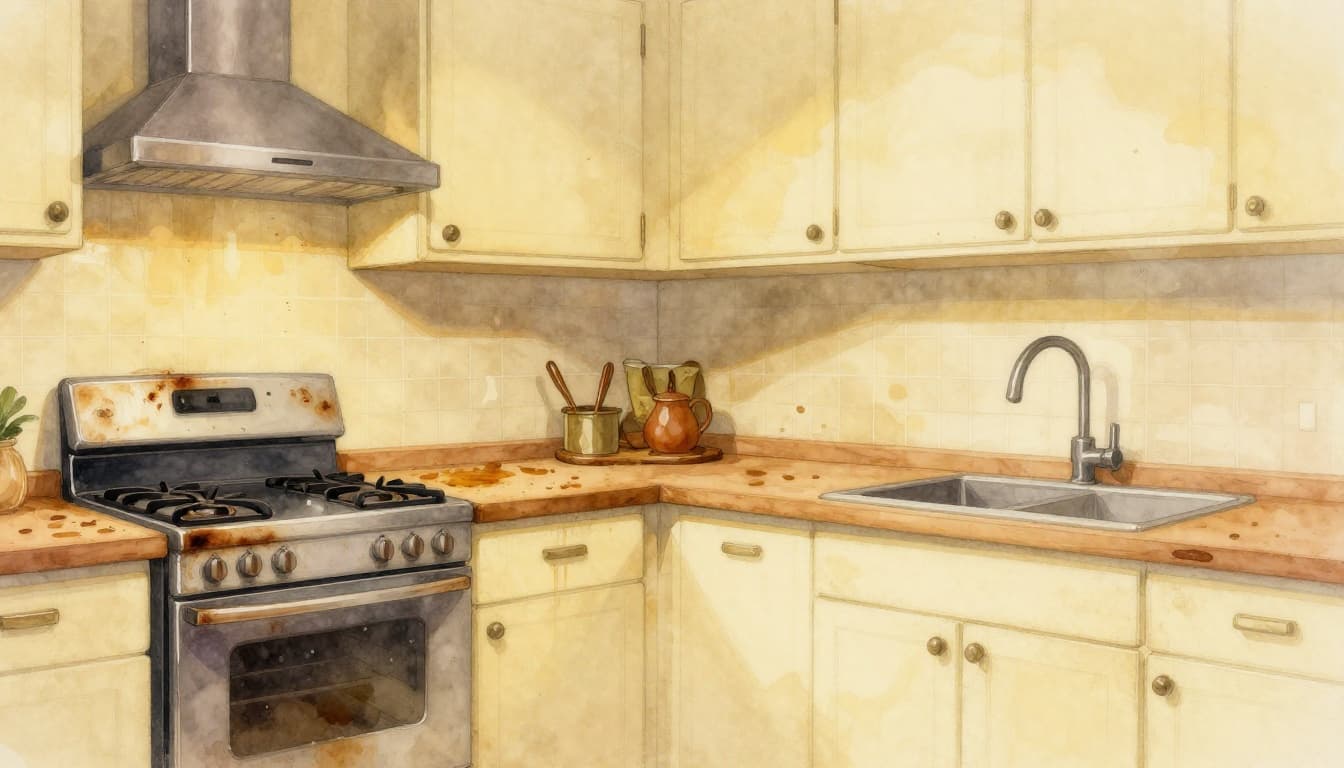
Ever cooked bacon or burgers, then stared at your cabinets like, “How did that happen?” Grease has a sneaky way of showing up as a sticky film and dull patches. It builds up fast, and then cleaning feels like wiping dried glue.
That sticky layer is part of what causes grease buildup in the kitchen problems. It attracts dust, traps cooking smells, and can even make range hoods and filters work less well. Most importantly, a greasy stovetop and hood can become a fire risk if buildup goes too far.
The good news? You can remove it without harsh chemicals or complicated tools. First, you’ll see where grease comes from and why it sticks. Then you’ll get safe, step-by-step methods for stovetops, cabinets, hoods, walls, and floors. Finally, you’ll pick up simple habits that stop the mess before it starts.
The Sneaky Ways Grease Takes Over Your Kitchen
Grease buildup usually starts as a “vapor problem.” When you fry, grill, roast, or even sauté, hot fats turn into tiny airborne droplets. They mix with steam and rise into the air. If your kitchen airflow isn’t strong, those droplets cool down and settle.
Then comes the sticky part. As grease cools, it changes from liquid to a thick residue. Animal fats tend to harden more than many plant oils. That’s why bacon drippings often leave a heavier, tougher layer. Vegetable oils can stay tacky longer, especially when the kitchen runs warm and humid.
Grease doesn’t spread evenly, either. It lands where air moves least and heat stays nearby. That’s why you often see it on:
- Range hoods and filters (right where air passes through)
- Stovetops and burner grates (splatter plus heat)
- Cabinets above the stove (gravity does the rest)
- Backsplashes and walls (fine splatters cling to paint and texture)
- Floors (drips get kicked up while cleaning or walking)
Poor ventilation makes it worse. If the hood fan runs weak, grease can keep recirculating in the room. Over time, the residue traps dust. That combo is like a slow-motion mud mix, turning easy wipe-down messes into scrub-worthy buildup.
If you want a quick reality check, think of grease like a thin paint layer. New grease wipes up easily. Old grease turns into a bonded film. Dust adds grip. Heat hardens the bond.
Regular cleaning matters because your kitchen is constantly producing fresh grease. So if you wait too long, you’re not removing a little film. You’re removing layers.
And yes, grease can spread beyond the stove area. In open layouts, it can drift through the home when cooking vapor moves around. That’s another reason a weekly routine beats “deep clean” only after a blowout mess.
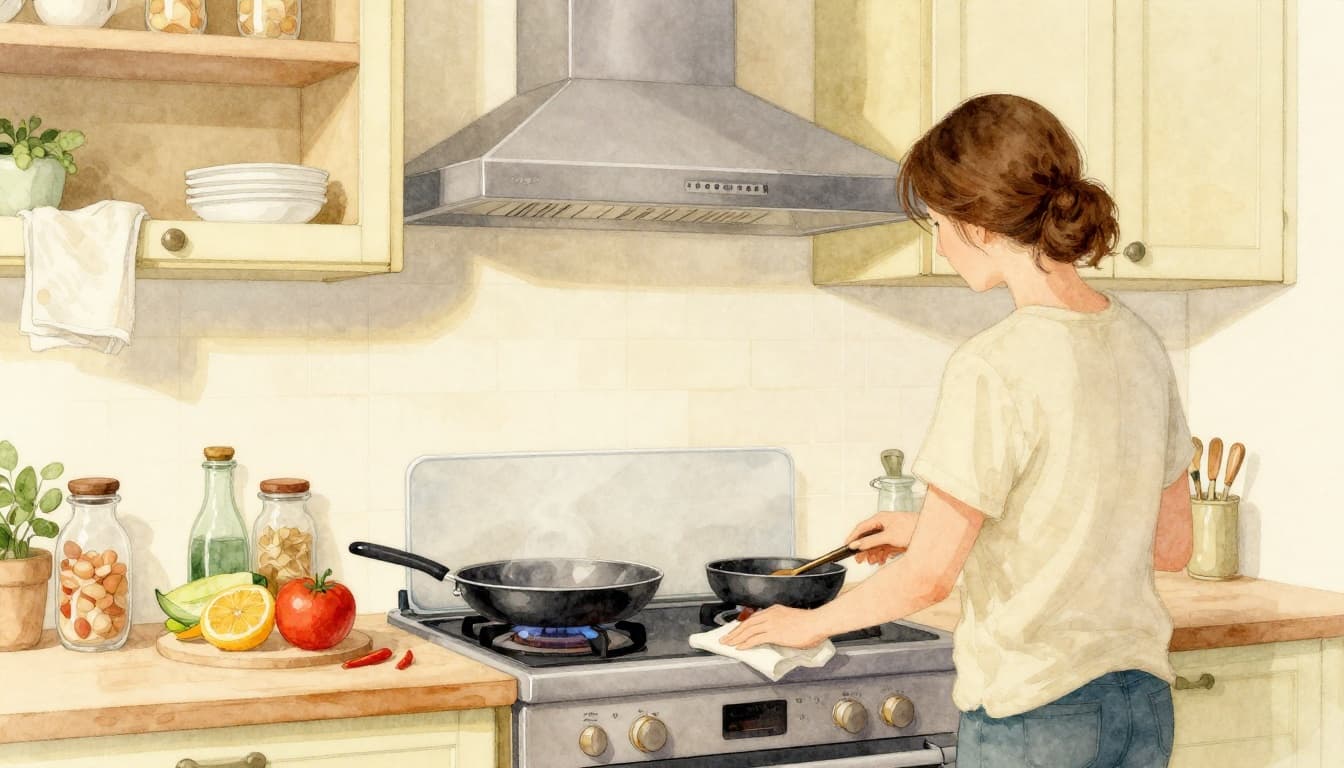
Everyday Cooking Habits That Spread Grease Everywhere
Grease buildup doesn’t happen only from messy cooking. It happens from normal cooking choices. When oil or fat gets hot, it can turn into mist that rides the air currents.
Here are some everyday moments that send grease across your kitchen:
- Bacon and sausage: Meat drippings pop and splatter, especially when pans are crowded.
- Burgers and fried chicken: Fat renders fast, then bounces onto surrounding surfaces.
- Sautéing with lots of oil: Even “medium” splatter adds up near the pan.
- Cooking veggies in oil: Tossing can fling tiny droplets onto backsplash and cabinet fronts.
- Using a lid loosely: Steam escapes around the edges, then cools on nearby walls.
If you notice sticky spots right after cooking, that’s why. Grease mist settles before you even finish dinner. Next morning, it’s already tacky.
Another factor is oil mixing. People often use blends, like butter plus oil or two oils at once. Those mixes can form residues that are harder to dissolve than single fats. You’ll feel it when soap and water alone won’t cut through the film.
Also, small habits matter more than you’d think. Wiping a greasy pan with a paper towel and tossing it in the trash is better than rinsing it straight into the sink. That reduces splatters and keeps your kitchen work area cleaner.
Hotspots Where Grease Loves to Hide and Multiply
Grease tends to “park” where heat and airflow meet. Once it’s there, it multiplies when dust sticks to the surface.
One reason these areas get bad fast is simple: grease deposits during cooking, then hardens between cleanings.
Here are the main grease hotspots you should watch:
- Range hood and filters
Grease gathers because the hood pulls in airborne cooking mist. Filters catch a lot, while the hood housing gets a film. - Stovetop and grills
These areas see direct splatter plus repeated heat cycles. That heat “bakes on” residue. - Cabinets above the stove
Cabinet fronts can collect a thin layer from falling droplets. Then, opening doors moves air and spreads dust. - Walls, backsplash, and corners
Textured paint and grout lines hold onto grease. Corners also trap the grime so it’s harder to wipe out. - Floors near the cooking zone
Tiny drips land, then get smeared while you clean or walk by.
If you want the smartest move, clean these zones first. Even one quick wipe after cooking can keep buildup from turning into thick, stubborn mess.
Grease buildup sticks better after it’s been heated and cooled a few times. Clean sooner, and you’ll scrub less later.
Why Fresh Grease Turns into a Stubborn Mess
Fresh grease looks manageable because it’s still “wet enough” to smear. But that’s when you still have options.
As grease sits, several things happen:
- New layers build over old layers
Each cooking session adds more residue on top of last week’s film. - Dust bonds to the sticky surface
Fine dust acts like sandpaper once it mixes with grease. - Fats harden as temperatures change
Animal fats often solidify more strongly, which can make residue feel like wax. - Heat cycles strengthen the bond
When surfaces warm up, grease thins and spreads. When they cool, it sticks more tightly.
That’s why “I’ll clean it tomorrow” sometimes turns into “I need elbow grease today.” The mess you face isn’t just greasy. It’s greasy plus baked-on film plus dust.
So when you remove grease buildup, you’ll usually do better with a method that breaks the bond first, then lifts residue.
Baking soda is one of the best helpers here. It’s mildly alkaline, which helps loosen grease so soap can lift it away. Vinegar helps too, especially when you’re dealing with food gunk mixed into the film.
If you have heavy buildup in the hood, you may need a degreaser and soaking. For that, follow expert steps like those in how to degrease a range hood.
Easy Fixes to Erase Grease from Stovetops, Cabinets, and More
Start mild, then move up only if needed. Most kitchen grease responds to gentle cleaning plus a short soak. For tough messes, you need the right order: soften first, scrub second, then rinse and dry.
Also, always test in a hidden spot. Some finishes, like painted cabinets or specialty coatings, can dull or spot if you scrub too hard.
A quick safety note: never spray water or vinegar onto a hot electric stovetop. Wait until everything cools. Grease can smoke when you add moisture to heat.
Here’s a practical approach that works across most kitchens.
Quick Home Remedies Using Pantry Staples
Soap-and-warm-water wipe (for light film)
Mix a few drops of dish soap into warm water. Wipe the greasy area with a microfiber cloth. Then rinse with a clean damp cloth and dry right away. This works best soon after cooking.
Baking soda paste (for sticky spots)
Mix baking soda with a little water to make a thick paste. Spread it over the grease. Let it sit about 10 minutes. Scrub gently with a soft sponge or non-scratch pad. Wipe clean, then rinse.
Vinegar soak or spray (for caked-on residue)
Mix equal parts vinegar and water in a spray bottle. Lightly mist the area and let it sit for 5 minutes. Wipe with a damp cloth. Dry after.
Baking soda plus vinegar fizz (for stubborn mess)
First, apply baking soda paste. Next, lightly mist vinegar over it. You’ll see a fizz. After about 5 to 10 minutes, scrub and wipe. This works well on counters and many tiles.
If you have natural stone like marble or some granite, skip vinegar. It can dull or etch sensitive surfaces.
Surface-by-Surface Cleaning Guide
Now, use the right method for each surface. This is where most people save time.
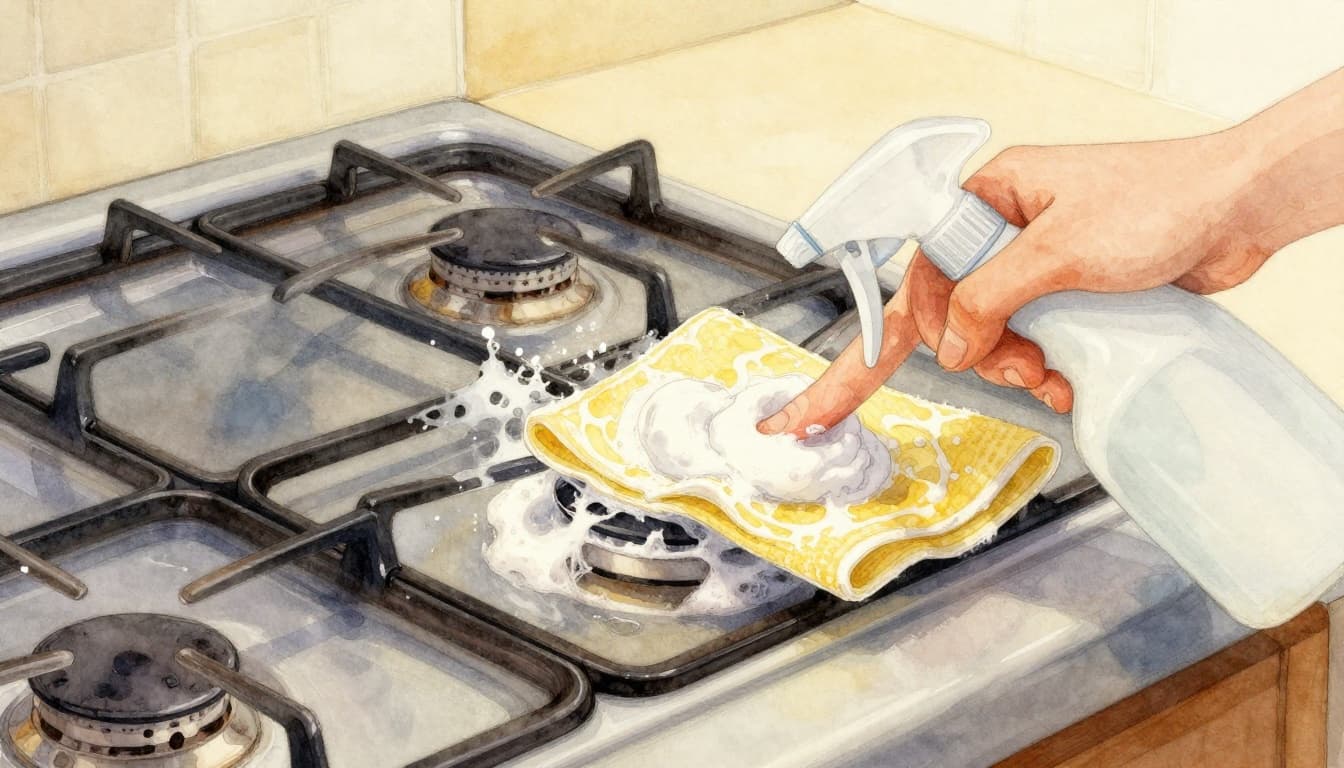
Stovetops (glossy film, splatters, and baked spots)
- Remove grates (if your model allows it).
- Soak grates in hot, soapy water for 15 to 30 minutes.
- For the top surface, spread baking soda paste on greasy areas.
- Scrub in small circles, then wipe clean.
- Rinse and dry fully.
For tough burnt grease on metal grates, a gentle paste plus patience beats harsh scraping. Avoid steel wool unless the surface is meant for it.
Range hoods (housing and filters)
- Turn off the fan, then let everything cool.
- Remove filters first if they come out.
- Soak them in hot water with a degreaser (or dish soap for light grease).
- Scrub with a soft brush, then rinse and dry completely.
For the hood itself, wipe with a degreasing solution and a microfiber cloth. If you have heavy buildup, use an expert-backed approach like this range hood grease removal guide.
Cabinets (sticky fronts above the stove)
Cabinets need gentler care. Use less liquid so you don’t soak seams.
- Dampen a cloth with warm soapy water.
- Wipe grease gently, then wipe again with clean damp cloth.
- Dry immediately with a separate towel.
If grease is thick, use baking soda paste lightly and rub gently. For more specific cabinet steps, see how to remove grease from kitchen cabinets.
Walls and backsplash (splatter and haze)
For glossy surfaces, use baking soda paste or soapy water. Apply, wait 5 to 10 minutes, then wipe.
For textured paint, don’t flood it. Instead, use a slightly damp sponge and blot. Repeat as needed.
Counters and floors (smears and track marks)
Start with dish soap and warm water. Then spot-treat stubborn areas with baking soda paste. For floors, rinse residue so the area doesn’t get slippery.
When a commercial cleaner makes sense
Sometimes grease is too thick for pantry methods. If so, use a kitchen degreaser and follow label directions. Look for products made for kitchen grease, and always ventilate the space.
The science is simple: most degreasers and baking soda work by breaking grease bonds. Once that happens, soap can lift the film instead of pushing it around.
Smart Habits to Stop Grease Buildup Before It Starts
Prevention feels boring until you try it. Then it feels like magic. You skip the “how is this worse?” phase.
Start with these habit changes. They don’t require a whole new life, just a few swaps.
- Wipe spills right after cooking
Letting grease cool makes it harder. A quick wipe takes minutes. - Run the range hood before you start cooking
Start it early so it captures grease mist as it forms. - Use a splatter screen when you fry
It blocks the worst droplets, especially when oil pops. - Give your kitchen a weekly quick clean
One small routine prevents a month of buildup. - Dust first, then wet-clean
If dust is already there, wipe it dry first. Wetting dust turns it into paste.
You’ll also find it helps to keep paper towels and a damp cloth near the stove. It turns “I’ll do it later” into “done in 30 seconds.”
If you want additional habits that reduce sticky grease buildup, check seven easy habits to prevent grease buildup on kitchen surfaces.
A realistic schedule idea for a busy household:
- After big cooking days: wipe stovetop and backsplash right away.
- Once a week: quick wipe cabinet fronts above the stove.
- Once a month: clean hood exterior and soak filters if you can.
This keeps grease from turning into a baked-on layer you dread.
Conclusion
Grease builds up because cooking creates hot oil mist. Then it cools, settles, and hardens into a sticky film. That film traps dust and becomes tougher with each heat cycle.
To remove grease buildup, start with warm soapy water for light spots. For stuck-on messes, use baking soda paste and let it sit. For stubborn residue, follow up with a vinegar step (skip vinegar on sensitive stone).
The best part is how fast prevention works. Wipe splatters soon after cooking, and your kitchen stays bright with less scrubbing.
Try one tip today, maybe a quick stovetop wipe or a filter soak. Then, what’s your worst grease spot, cabinets, hood, or backsplash? Share it in the comments.