If your home feels messy the moment you blink, you’re not alone. Many beginners try to “catch up” with one huge cleaning day, and it still doesn’t feel finished. The fix is simpler than you think: small, repeatable habits plus a smart order of work.
In 2026, a lot of people are shifting toward quick daily routines instead of marathon deep cleans. Trends also show that 80% of people do a thorough spring deep clean just once a year, which means your day-to-day habits handle most of the work.
So what should you do first, when you’re new to cleaning? Start with a beginner-friendly toolkit, build daily and weekly rhythms, then clean room by room using a top-to-bottom method. Let’s make it easy, practical, and stress-free.
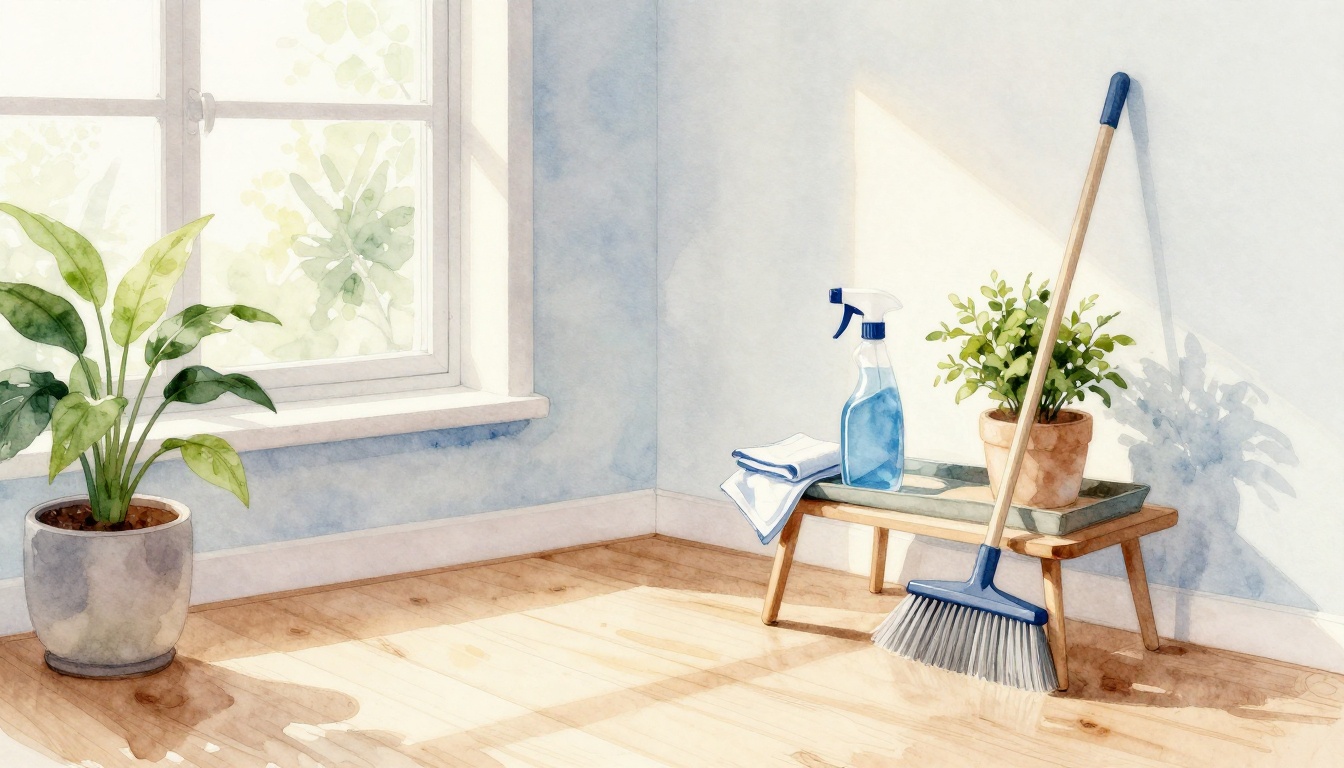
Build a Beginner Cleaning Kit with Everyday Essentials
You don’t need a giant wall of bottles. As a beginner, you need a small kit that covers the basics. Think of it like starting with a few kitchen tools instead of every gadget on Earth. Once you know your essentials, you’ll clean faster and waste less time.
If you want an idea of what a starter kit looks like, Mashable shares a roundup of spring-cleaning staples in one place: spring-cleaning starter kit staples.

Here are the must-haves for a beginner kit, chosen because they work on common messes and don’t require fancy skills. Keep the total budget low by focusing on multi-use basics.
- Microfiber cloths (6 to 10): Great for dust, counters, and streak-free glass when used correctly.
- All-purpose spray bottle (1): Use it for water-based cleaners, then refill as needed.
- Small scrub brush (1): Perfect for grout lines, sink corners, and stuck-on spots.
- Baking soda (1 box): A gentle abrasive for scrubbing sinks, tubs, and grimy spots.
- White vinegar (1 bottle): Helps cut grease and adds shine, but use carefully on certain surfaces.
- Rubber gloves (1 pair): Protect your hands, especially when you’re using vinegar or store-bought cleaners.
- Vacuum (or broom) (1): Choose what fits your floors (carpet needs vacuum, hard floors can use both).
- Dusting tool (1): A flat duster or microfiber mop head works well for high surfaces.
- Disinfecting wipes (1 tub): Useful for high-touch areas like light switches and door handles.
- Trash bags (1 roll): Sounds basic, but they prevent clutter from spreading as you clean.
If you’re buying new tools, Real Simple often rounds up practical product picks. Their spring-cleaning list can help you compare what’s worth it: Real Simple spring cleaning products.
Finally, organize your kit in one spot. A basket under the sink works well. Or a small caddy in the hallway closet. When tools stay easy to grab, cleaning turns from a chore into a quick routine.
Start Small with Daily and Weekly Habits That Keep Mess at Bay
Big cleaning plans fail for one reason: they ignore how daily life creates mess. You don’t need to remove everything at once. You just need to stop mess from stacking.
In 2026, the common advice is clear. People rely on faster habits to reduce what they later call “deep clean.” Instead of scrubbing everything weekly, you keep surfaces maintained so grime never gets strong.
Also, eco-friendly habits are a major theme. Many shoppers are looking for non-toxic options, and trends show 45% of shoppers pick cleaners for non-toxic ingredients and antibacterial power. You can do that without using harsh chemicals for every job.
Here’s a beginner-friendly rhythm that works for most homes.
Your 5-Minute Morning and Evening Reset Routine
Your goal is to reset your home like you reset your phone. Small effort now prevents big effort later.
Morning reset (about 5 minutes):
- Wipe the bathroom sink if toothpaste marks or water spots show up.
- Do a quick sink rinse in the kitchen.
- Put obvious clutter into one “landing spot” bin.
Evening reset (about 5 minutes):
- Clear kitchen counters, even if it’s just moving items to the right places.
- Do one quick wipe on the kitchen counters.
- Pick up living room clutter (remote, blankets, dishes) before it grows.
If you like structure, create a simple checklist on paper. Keep it in your cleaning basket. Then you can check off tasks without thinking.
When you clean in tiny bursts, dirt has less time to “settle in.”
Weekly Tasks to Stay Ahead of Dirt Buildup
Once a week, focus on areas that collect dust and germs fast. These jobs take longer than daily wiping, but they’re still manageable for beginners.
Try this flow for a typical week:
- High-touch surfaces (handles, switches, remote controls): wipe them.
- Floors: vacuum rugs and mop hard floors.
- Bathroom quick scrub: focus on tub edges, sink, and toilet bowl spots.
- Windows and mirrors: do a simple clean when you notice streaks.
If you’re in flu season or someone in your home is sick, you can disinfect more often. Use common sense and follow product directions. You’ll feel safer without overdoing it.
The key is consistency. You don’t need to clean harder. You need to clean a little, then clean again tomorrow.
Clean Room by Room Using the Top-to-Bottom Trick for Max Efficiency
Beginner cleaners often do things in the wrong order. You might wipe a counter, then dust the shelf above it. Guess what falls next. Dust loves to “re-clean” areas you already worked on.
So use the top-to-bottom method every time. It’s simple: clean higher surfaces first, then work downward.
Before you start a room, do one quick declutter pass. Move random items to their home or into a single pile for later. When clutter disappears, you see what needs cleaning. Plus, you avoid re-cleaning later.
Here’s the best order to follow across any room:
- Prep the space: Open curtains slightly for light, and clear visible clutter.
- Dust and remove debris: Start with shelves, blinds, and ledges.
- Wipe surfaces: Tables, counters, and any area that attracts fingerprints.
- Clean floors last: Vacuum or mop so you catch everything in one pass.
For extra help, some cleaning experts list mistakes that make homes dirtier. If you want a reality check, read: cleaning mistakes experts warn about.
Whole-House Prep Steps Before Hitting Rooms
Spend 10 minutes preparing the house before you enter rooms. It makes everything faster.
Start with:
- Pick up stray items that belong elsewhere.
- Dust the obvious high areas first (fans, vents, baseboards near walls).
- Check HVAC filter timing if you’re due. A new filter can reduce dust buildup.
- If windows look dusty, open them for better airflow while you clean.
You’re not trying to “finish the whole house.” You’re making each room easier to clean.
Kitchen Clean That Tackles Grease Fast
Kitchens get messy fast because cooking moves grease and moisture around. Your job is to stop grease from spreading while you clean.
Use this flow:
- Clear counters and store anything that doesn’t belong.
- Wipe counters and backsplash first.
- Focus on the sink next, then appliances.
- Finish with floors last, because crumbs and dust fall down.
For stuck-on grease, start with warm water and a gentle scrub. Then use baking soda as a mild abrasive if needed.
Bathroom Routine for a Fresh, Germ-Free Shine
Bathrooms need a clear order because wet areas trap grime. Also, soap scum builds quietly.
A beginner-friendly bathroom plan:
- Clear clutter from counters and the floor.
- Clean mirrors and glass before you tackle tubs and sinks.
- Scrub the tub and sink, including edges where water hides.
- Finish with floors so you pick up loosened dirt.
A small note: vinegar is great for many surfaces, but avoid using it on natural stone like marble or limestone. Test in a hidden area if you’re unsure.
Living Room and Bedroom Wins in Under 20 Minutes
These rooms feel hard because clutter gets spread out. Keep it simple.
Do it like this:
- Dust shelves, picture frames, and any top surfaces.
- Wipe what collects fingerprints (like TV remotes and tables).
- Vacuum floors, then handle rugs if you have them.
- Make beds and fluff pillows last, so the room looks done quickly.
When your living spaces look organized, you’ll feel motivated to keep the routine going.
Whip Up DIY Cleaners and Dodge Beginner Traps for Pro Results
Store-bought cleaners can work, but many beginners waste money on products they don’t need. DIY cleaners help you spend less and control ingredients.
In 2026, more people also look for simple, eco-leaning mixes. Homemade recipes are common because they use ingredients you likely already have.
If you want more inspiration, here’s a guide focused on DIY cleaner recipes for whole-home use: homemade cleaner recipe book.
Three Easy Homemade Sprays That Cut Through Grime
Start with simple mixes. Keep labels on your bottles so you don’t guess later.
All-purpose spray (for many counters)
- Mix water and a small amount of vinegar in a spray bottle.
- Use it for everyday mess on sealed surfaces.
- Wipe with a microfiber cloth.
Baking soda scrub paste (for sinks and tubs)
- Stir baking soda with a little water until it forms a paste.
- Spread it on grime spots.
- Scrub gently, then rinse and dry.
Window and glass mix
- Mix vinegar and water in a spray bottle.
- Spray, then wipe in one direction with a clean cloth.
- Buff with a dry microfiber cloth if streaks show up.
If you’d rather stick to another all-purpose DIY recipe style, this one offers a beginner walkthrough: DIY homemade all-purpose cleaner.
Five Pitfalls New Cleaners Fall Into and Quick Fixes
Beginners don’t fail because they’re lazy. They struggle because they repeat the same mistakes.
- Pitfall: Skipping declutter
- Fix: Do a 2-minute “move it” pass first. Then clean where items were.
- Pitfall: Cleaning one room for hours
- Fix: Set a timer for 20 minutes per room. Finish the key steps, then stop.
- Pitfall: Using dirty cloths everywhere
- Fix: Keep at least two cloths. One for grime, one for final wipe.
- Pitfall: Cleaning from the bottom up
- Fix: Dust first, floors last. Otherwise, you re-mess surfaces.
- Pitfall: Going harsh too early
- Fix: Start mild. Vinegar and baking soda handle many messes. Use stronger products only when needed.
Once you avoid these traps, cleaning feels less like punishment and more like maintenance.
Conclusion: Make Cleaning a Daily Habit, Not a Big Event
That “mountain of mess” feeling usually comes from waiting too long. When you use a simple kit, reset daily, and clean top to bottom, your home stays under control.
Start today with one change: wipe the kitchen counters after meals, or do a quick 5-minute evening reset. Small steps add up fast.
If you want faster results, try one DIY spray next time. Your home can stay fresh without panic cleaning, and 2026 trends prove it: maintenance beats marathons. What’s the one room you want to feel cleaner this week?